Microwaving Oreos is a creative way to turn these popular cookies into delicious, warm treats. Whether you want to soften Oreos for a dessert topping or create a quick Oreo Mug Cake, the microwave makes it possible in seconds. This guide explains how to microwave Oreos safely, including tips, tricks, and fun dessert ideas.
Why Microwaving Oreos Is a Game-Changer
Microwaving Oreos is gaining popularity because it transforms a simple cookie into a gooey, chocolatey treat. The heat softens the cookies and melts the cream filling, making them perfect for mug cakes, S’mores, and dessert dips. Plus, the process is quick and requires no special baking skills.
Benefits of Microwaving Oreos
- Quick and Easy: No preheating or complicated baking steps needed.
- Customizable: Add toppings like whipped cream, ice cream, or sprinkles.
- Budget-Friendly: You only need a few Oreos and a microwave-safe mug or plate.
- Perfect for All Ages: This is a fun, safe activity for kids and adults alike.
Why It Works
Oreos have a unique combination of crispy chocolate cookies and sweet cream filling. When microwaved, the filling melts into a creamy texture while the cookies soften, creating a perfectly balanced dessert experience.
Quick and Easy Dessert Ideas You Can Try
Microwaving Oreos unlocks endless dessert possibilities. Here are some easy and delicious recipes you can try right away:
1. Oreo Mug Cake
Ingredients:
- 4-6 Oreos
- 4-5 tablespoons of milk
Instructions:
- Crush Oreos in a microwave-safe mug.
- Add milk and mix until smooth.
- Microwave for 1-2 minutes until firm. Enjoy warm!
2. Oreo S’mores
Ingredients:
- Oreos
- Marshmallows
- Chocolate squares
Instructions:
- Split Oreos in half.
- Add a marshmallow and chocolate between the halves.
- Microwave for 10-15 seconds until gooey.
3. Melted Oreo Topping
Ingredients:
- Oreos
- Milk
Instructions:
- Crush Oreos and add a splash of milk.
- Microwave for 20 seconds, stir, and pour over ice cream or pancakes.
Why These Recipes Are Popular
- Time-Saving: All recipes take less than 5 minutes.
- Kid-Friendly: Simple and fun for children to make.
- Customizable: Add your favorite toppings and flavors.
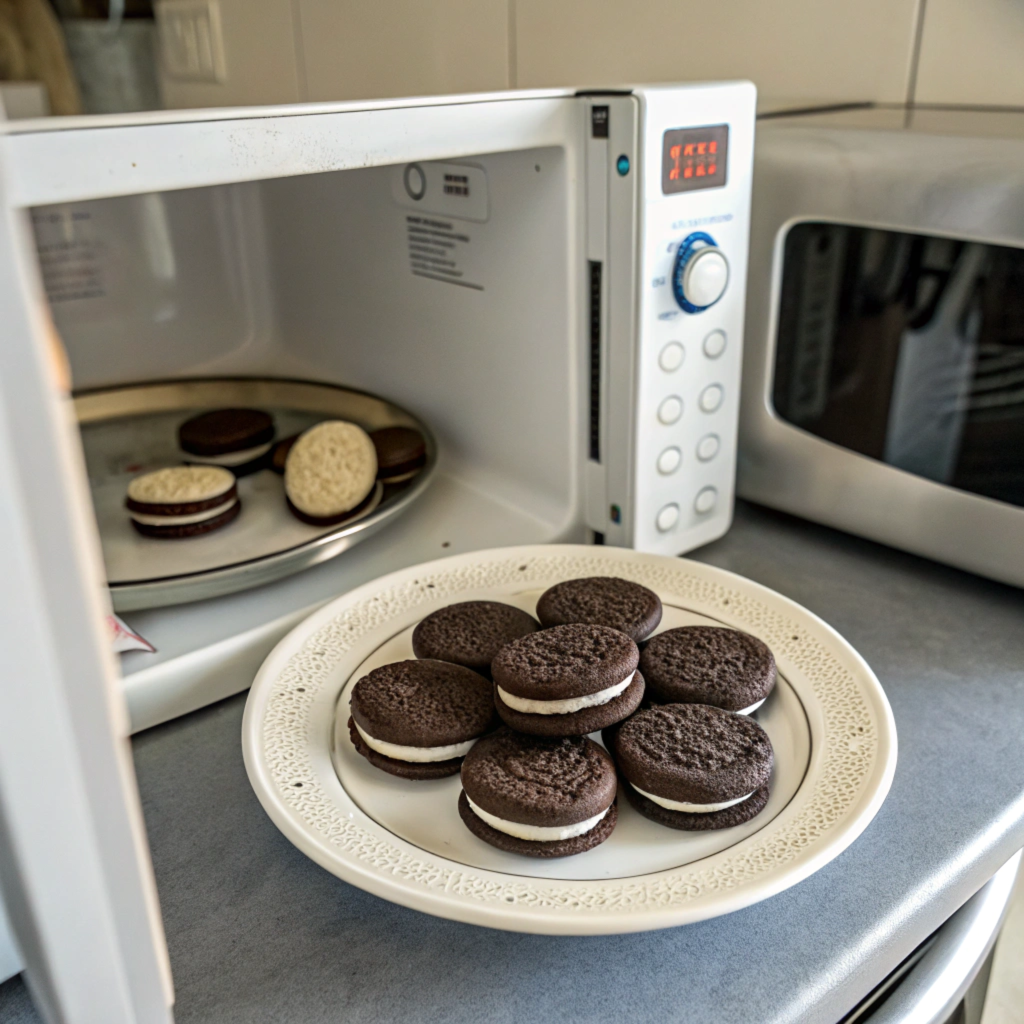
Microwave Safety Tips for Oreos
Microwaving Oreos is fun and easy, but following safety tips ensures the best results while avoiding common mistakes. Improper microwaving can cause burning, spills, or even damage to your microwave. Follow these essential safety guidelines before you begin your Oreo dessert-making adventure.
Use Microwave-Safe Containers
Choosing the right container is crucial for microwaving Oreos safely. Not all materials are designed to withstand high microwave temperatures.
Recommended Containers:
- Ceramic Mugs: Thick ceramic mugs hold heat well and prevent spills.
- Glass Bowls: Heat-resistant glass bowls allow even cooking.
Containers to Avoid:
- Metal Dishes: Metal reflects microwave energy, causing sparks or fires.
- Thin Plastics: These can melt, releasing harmful chemicals.
- Foil or Wrappers: Aluminum foil can cause dangerous microwave sparks.
Avoid Overheating
Microwaving Oreos for too long can cause burning, an unpleasant odor, or even smoke. Overheating also ruins the taste and texture of your dessert.
How to Avoid Overheating:
- Use Short Bursts: Microwave in 10-15 second intervals and check frequently.
- Monitor Closely: Stay near the microwave to prevent accidents.
- Check for Texture: The Oreo filling should be soft and slightly melted, not dry or scorched.
Why Short Bursts Matter:
Heating in bursts prevents burning and ensures even melting, giving your dessert the perfect gooey texture.
Monitor the Process
Keeping a close eye on the microwaving process prevents spills and messes. Desserts like Oreo Mug Cakes tend to rise quickly, so monitoring is essential.
What to Watch For:
- Melting and Bubbling: Stop microwaving when the cream filling starts bubbling.
- Cookie Expansion: Oreo Mug Cakes expand as they cook, so ensure the mug isn’t too full.
- Overflows: Use a microwave-safe plate under the mug to catch spills.
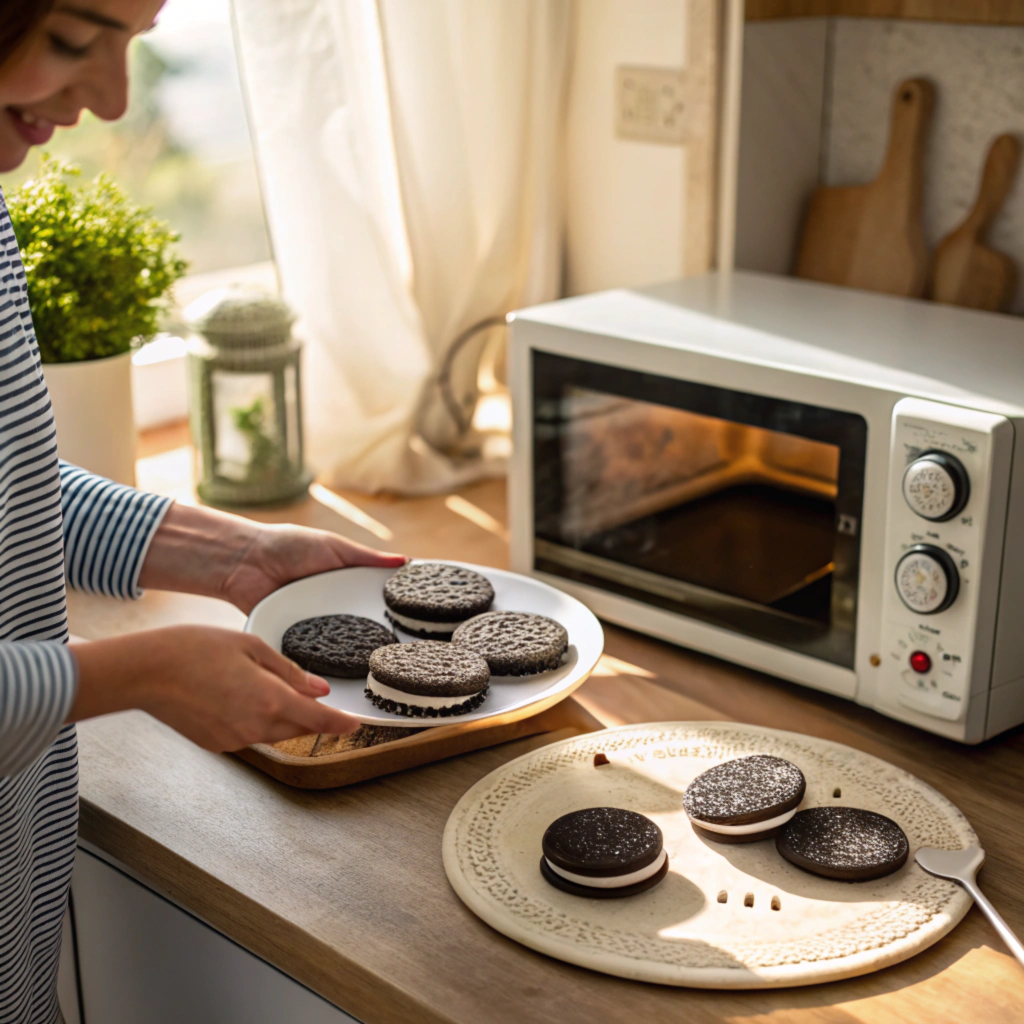
Cooling Time Matters
After microwaving, let your dessert cool for 1-2 minutes before eating. This cooling time prevents burns and helps the dessert set properly.
Why Cooling Is Important:
- Avoid Burns: Freshly microwaved Oreos can be extremely hot.
- Better Texture: Cooling helps desserts like mug cakes become firmer and easier to eat.
How to Microwave Oreos: Step-by-Step Guide
Microwaving Oreos is simple and fun when done the right way. This step-by-step guide shows you how to create delicious treats like softened Oreos, Oreo Mug Cakes, and Oreo S’mores. With just a microwave and a few ingredients, you’ll have tasty desserts in minutes.
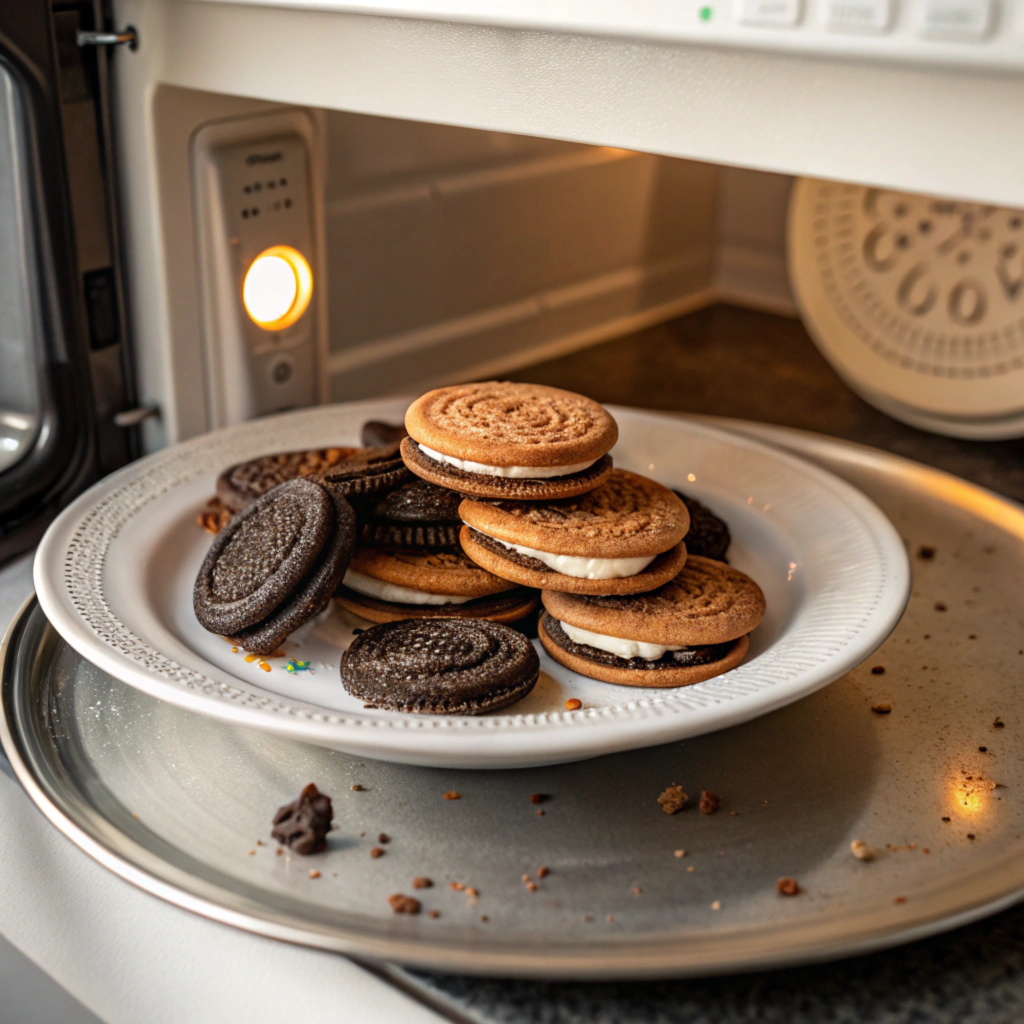
Option 1: Softened Oreos for Snacks
Softened Oreos are perfect for snacking or adding to other desserts like ice cream and milkshakes.
How to Soften Oreos:
- Place Oreos on a Microwave-Safe Plate: Arrange them in a single layer.
- Microwave on High Power for 10-15 Seconds: Heat until the cookies become soft but still hold their shape.
- Serve Immediately: Enjoy with a glass of milk or use as a topping.
Why This Works:
The microwave heats the cookies and melts the filling, making Oreos soft and gooey, perfect for quick treats.
Option 2: Oreo Mug Cake
An Oreo Mug Cake is a quick, single-serving dessert made entirely in the microwave.
Ingredients:
- 4-6 Oreos
- 4-5 tbsp Milk
Instructions:
- Crush Oreos in a Microwave-Safe Mug: Use a spoon or fork to break them into small crumbs.
- Add Milk: Pour in the milk and mix until a smooth batter forms.
- Microwave for 1-2 Minutes on High Power: Start with 1 minute and check for doneness. Add 15-second intervals if needed.
- Cool and Serve: Let the cake cool for 1-2 minutes, then add whipped cream, ice cream, or sprinkles.
Why This Recipe Works:
Microwaving blends the Oreos and milk into a soft, cake-like texture, creating a quick dessert with minimal cleanup.
Option 3: Oreo S’mores
Oreo S’mores are a fun twist on the classic campfire treat, requiring no open flame.
Ingredients:
- Oreos
- Marshmallows
- Chocolate Squares
Instructions:
- Split the Oreos in Half: Remove the top cookie layer.
- Add Marshmallows and Chocolate: Place a marshmallow and chocolate square on the bottom half.
- Microwave for 10-15 Seconds: Heat until the marshmallow and chocolate melt.
- Close the Oreo: Press the top cookie half back on and enjoy!
Why This Recipe Is Popular:
The heat from the microwave melts the chocolate and marshmallow, creating a gooey, satisfying treat perfect for snacks or parties.
Creative Microwave Oreo Recipes
Microwaving Oreos opens the door to countless creative dessert possibilities. From quick toppings to full-sized microwave cakes, these simple recipes require minimal ingredients and only a few minutes of your time. Let’s explore some of the best microwave Oreo recipes that are fun, delicious, and easy to make.
Melted Oreo Topping
A melted Oreo topping is the perfect addition to ice cream, pancakes, or waffles. This sweet sauce is quick to make and adds extra flavor to your favorite desserts.
Ingredients:
- 4-6 Oreos
- 2-3 tbsp Milk
- Chocolate Sauce (Optional)
Instructions:
- Crush the Oreos: Place Oreos in a microwave-safe bowl and crush them into fine crumbs.
- Add Milk: Pour the milk over the Oreos and stir until well combined.
- Microwave for 20-30 Seconds: Heat until the mixture is warm and creamy.
- Stir and Serve: Use as a topping for ice cream, pancakes, or any dessert you like.
Why This Recipe Works:
The combination of melted Oreos and milk creates a creamy, chocolatey sauce that pairs well with many desserts.
Oreo Lava Cake
An Oreo Lava Cake is rich, gooey, and filled with melted chocolate. It’s the ultimate microwave dessert for chocolate lovers.
Ingredients:
- 6 Oreos
- 4 tbsp Milk
- 1 Square of Chocolate (Dark or Milk)
Instructions:
- Crush the Oreos: Use a microwave-safe mug or bowl to crush the Oreos into crumbs.
- Add Milk: Stir until the mixture forms a thick batter.
- Insert the Chocolate: Press the chocolate square into the center of the batter.
- Microwave for 1-2 Minutes: Cook until the cake is firm but still gooey in the middle.
- Let Cool and Serve: Allow the cake to cool for 1-2 minutes before enjoying.
Why This Recipe Works:
The inserted chocolate melts while the batter bakes, creating a gooey lava-like center. It’s quick, indulgent, and perfect for satisfying chocolate cravings.
Oreo Dip or Sauce
This creamy Oreo dip is great for dipping fruit, cookies, or even spreading on toast.
Ingredients:
- 6 Oreos
- 2 tbsp Cream Cheese
- 1 tbsp Powdered Sugar
Instructions:
- Crush the Oreos: Place them in a microwave-safe bowl and crush them into crumbs.
- Add Cream Cheese and Sugar: Mix well until smooth.
- Microwave for 20-30 Seconds: Heat until warm and creamy.
- Serve Immediately: Enjoy with fruit slices, cookies, or pretzels.
Why This Recipe Works:
The combination of Oreos, cream cheese, and powdered sugar creates a perfectly sweet dip that’s great for parties or solo indulgence.
Common Mistakes to Avoid When Microwaving Oreos
While microwaving Oreos is simple, avoiding common mistakes ensures the best results. Missteps like overheating or using the wrong containers can ruin your treat or even damage your microwave. Here are the top mistakes to avoid when microwaving Oreos and how to fix them.
Overheating the Cookies
Overheating Oreos can cause them to burn, releasing an unpleasant smell and making the dessert inedible. This issue occurs when cookies are microwaved for too long or at too high a temperature.
How to Avoid Overheating:
- Microwave in Short Bursts: Use 10-15 second intervals instead of microwaving for a long stretch.
- Check Frequently: Monitor the cookies for signs of softening but avoid letting the cream bubble over.
- Adjust Power Settings: If your microwave has adjustable power levels, use a lower setting for better control.
Why This Happens:
Oreos have a high sugar content that melts quickly, making them prone to burning if microwaved too long.
Using the Wrong Containers
Using non-microwave-safe containers can lead to dangerous situations, including melting plastic or sparking metal. This is one of the most critical mistakes to avoid.
What to Use Instead:
- Microwave-Safe Mugs: Thick ceramic mugs are ideal for recipes like Oreo Mug Cakes.
- Glass Bowls: Use heat-resistant glass for desserts that require more space.
- Avoid Metal and Thin Plastics: Never use metal containers or foil, which can cause fires or sparks.
Why It’s Important:
Safe containers prevent chemical leaching, avoid dangerous sparks, and keep your microwave damage-free.
Skipping the Cooling Step
Freshly microwaved Oreos can be extremely hot, especially when used in recipes like Oreo Mug Cakes or S’mores. Skipping the cooling process can cause burns and affect the dessert’s texture.
How to Cool Safely:
- Wait 1-2 Minutes: Allow the dessert to cool slightly before eating.
- Use a Plate or Tray: Transfer the dessert to a cool plate if the container is too hot.
- Test Before Eating: Gently touch the dessert to check for safe eating temperature.
Why Cooling Matters:
Cooling prevents burns and helps desserts like mug cakes set properly, creating a better eating experience.
Final Tips and Conclusion for Microwaving Oreos
Microwaving Oreos is an easy way to transform a classic snack into warm, gooey treats. By following safety tips, using the right techniques, and experimenting with creative recipes, you can enjoy delicious Oreo desserts in minutes. Here are some final tips to ensure the best results every time.
Experiment with Recipes
Microwaving Oreos opens up endless dessert possibilities. Don’t be afraid to experiment with different recipes and ingredients to create unique treats.
Fun Recipes to Try:
- Oreo Mug Cakes: A single-serving dessert made with crushed Oreos and milk.
- Oreo S’mores: A campfire-inspired treat with marshmallows and chocolate.
- Oreo Lava Cakes: A rich, gooey cake with a molten chocolate center.
- Melted Oreo Topping: A quick sauce for ice cream or pancakes.
- Oreo Dessert Dip: A creamy dip perfect for fruit, cookies, and pretzels.
Tips for Customizing Recipes:
- Add Toppings: Use whipped cream, ice cream, or sprinkles for extra flavor.
- Incorporate Fruits: Add strawberries or bananas for a fruity twist.
- Enhance Flavors: Mix in vanilla extract, cocoa powder, or chocolate chips.
Stay Safe and Have Fun
Following safety guidelines ensures that you enjoy making Oreo desserts without issues. Use the right containers, microwave in short bursts, and always monitor your treats as they cook.
Essential Safety Reminders:
- Use Microwave-Safe Containers: Stick to ceramic mugs or glass bowls.
- Microwave in Intervals: Use 10-15 second bursts to prevent overheating.
- Allow Cooling Time: Let desserts cool for at least 1-2 minutes before eating.
Why It’s Important:
These tips prevent accidents like burns, spills, and even microwave damage. Plus, they ensure your Oreo treats turn out perfectly every time.
Enjoy Warm, Gooey Oreo Treats Anytime!
Now that you know how to microwave Oreos safely and creatively, it’s time to try out these fun recipes. From Oreo Mug Cakes to delicious dessert dips, the possibilities are endless. Enjoy making and sharing these tasty treats with family and friends!